A typewriter five ways
- This post is more than 6 months old. Circumstances or my opinions may have changed.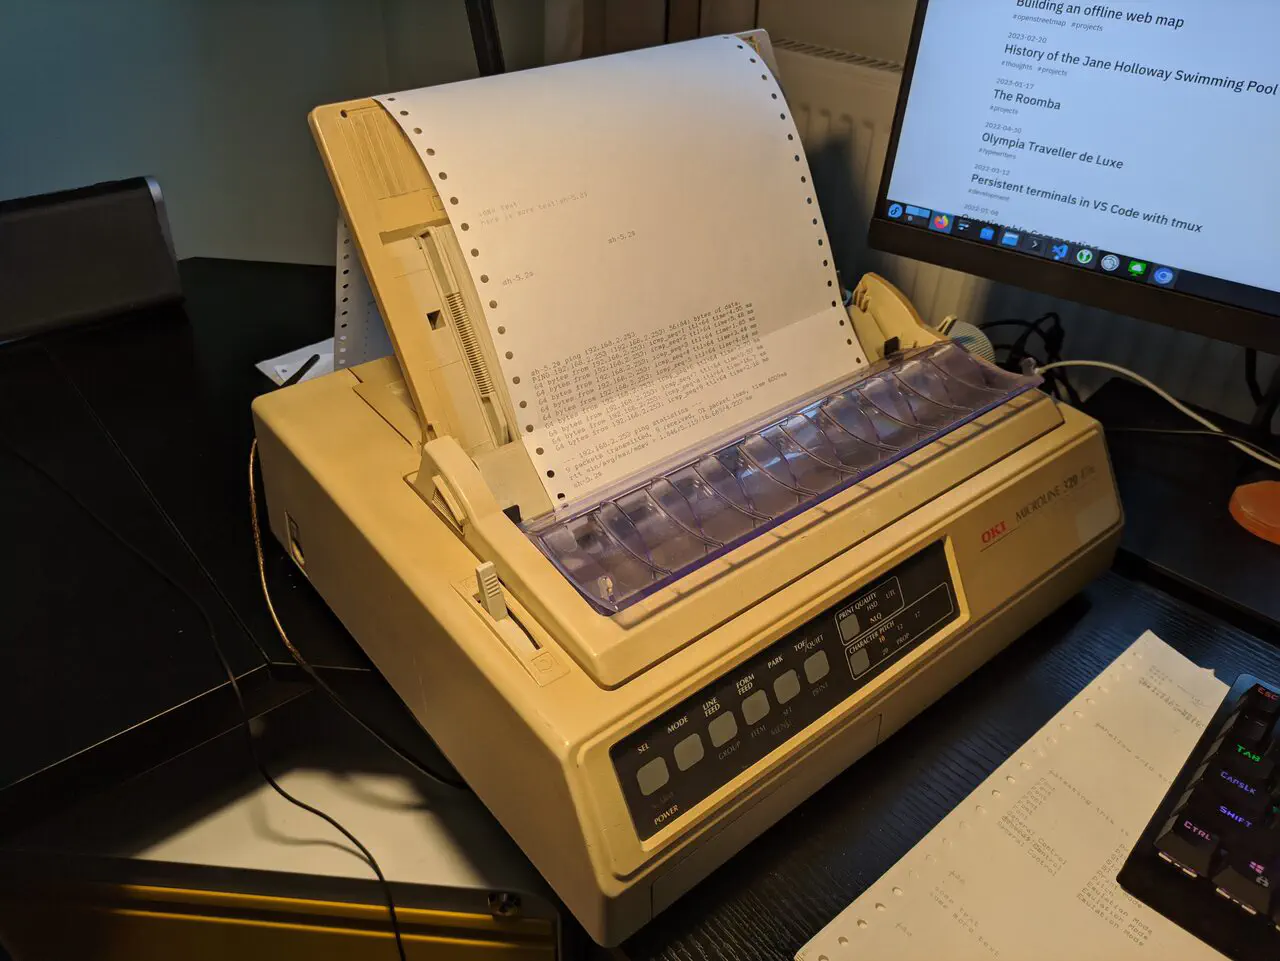
The joy of the dot matrix printer is how simple the interface is – it’s just a file, /dev/usb/lp0.
When you write some ASCII character into this file, the printer prints it. That’s it!
Below are five increasingly complicated ways to write to this file.
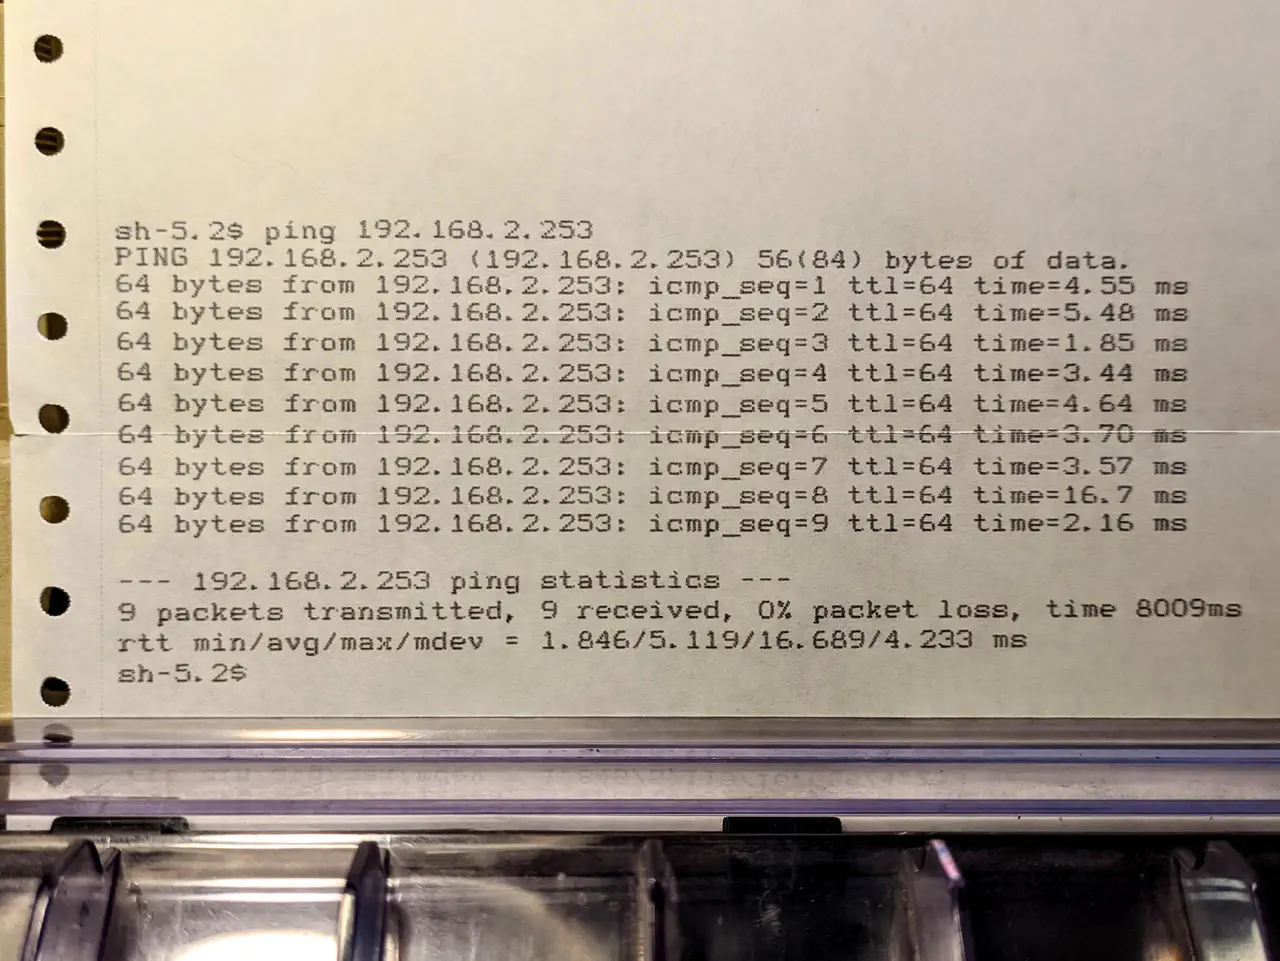
The obvious way to go about this is a normal shell redirection, like so:
$ echo "hello world!" > /dev/usb/lp0
# or
$ cat my-file.txt > /dev/usb/lp0
This is, however, quite static: you have to decide what you want to print beforehand. I want something a bit more interactive, like a good old-fashioned mechanical typewriter.
1. cat#
The simplest method I can think of is just cat again.
If you invoke it without any arguments, cat simply pipes stdin to stdout:
$ cat > /dev/usb/lp0
The works well enough, but it’s line buffered: the text doesn’t actually print until you press enter. This is good for interactively editing your command before executing it, but not what you want for emulating a typewriter!
2. stty#
Luckily, this line buffering can be turned off.
I spent quite a while assuming this was controlled on the application side, but it is actually up to the terminal 1.
The stty command can adjust these settings — stty -icanon does what I want.
I’ll use strace to make this a bit clearer. On the left you can see normal terminal behaviour; on the right I’ve changed the settings. I used the synchronize-panes option in tmux, so both terminals get the same a, b, c, \n input at the same time:
The write(...) messages come from strace, and indicate when the terminal is actually sending the data off.
On the left, we only see a single write() after the enter press. On the right, we get the immediate writes that we want for emulating a typewriter.
3. scrolling#
We are getting closer.
However, there is one rather large issue with doing something like stty -icanon && cat > /dev/usb/lp0:
You can’t see what you’ve written!
While in any case you can’t backspace any physically printed text, it is a bit disconcerting to not be able to see what you’ve typed.
Ideally the paper would scroll up once you’ve stopped typing, so you can view the output and then scroll back into the printer once you resume.
Luckily, dot matrix printers have a trick up their sleeves — escape codes. These work as a markup to control some aspect of the printers output, like setting the typeface to be bold. Escape codes weren’t particularly standardized, different manufacturers used different codes. Conveniently, my printer can emulate a few different control code standards.
The escape code that is particularly useful in this case is “Reverse line feed”, which in Epson’s ESC/P language is the sequence []byte{27, 106, 216} 2. We can use this for scrolling the paper back into the printer when the user resumes typing.
I wrote a little program in Go, Typist, that handles this scrolling behaviour for us:
The main loop is pretty simple:
func (p *printer) handleInput() {
readLoop:
	for {
		select {
		case char := <-p.pipe:
			if char == 3 {
				fmt.Printf("got ctrl+c\r\n")
				break readLoop
			}

            // if scrolled up, scroll back down
			if p.scrolledUp {
				fmt.Print("scrolling back down\r\n")
				p.scroll(false)
			}


			fmt.Printf("writing char \"%q\", dec \"%d\", hex \"%x\"\r\n", char, char, char)
			_, err := p.fd.Write([]byte{char})
			if err != nil {
				panic(err)
			}

		case <-time.After(time.Second * 2):
			if p.scrolledUp {
				break
			}
			fmt.Print("timed out, scrolling up\r\n")

			p.scroll(true)
		}
	}
}
In this snippet p.pipe is a channel, which is fed characters from stdin by a goroutine running in parallel.
The idea is that we use the select statement to wait for either some input character to come from the channel, or for our timeout to occur.
In reality the implementation is a little more complex. There is some state-machine logic for handling the multi-character escape code sequences from the terminal, like the arrow keys.
4. netcat#
Since all Typist does is listen on stdin, it’s trivial to hook it up to netcat. netcat is a handy utility for receiving/transmitting data to the network.
If I run this on my desktop connected to the printer, netcat will listen on TCP port 4444, and pass any data received from the tunnel into Typist:
nc -l 4444 | ./typist
Via Termux on my phone, I can use stty as before and have the same typewriter experience, over WiFi:
phone$ stty -icanon && nc desktop.lan 4444
5. tty#
With Typist we now have an experience pretty similar to a teletype (tty) used for output on early computers.
For the authentic 1960s Unix experience we can pipe the output of a shell into Typist, like so:
$ TERM=lp /bin/sh -i 2>&1 | ./typist
Setting the TERM=lp environment variable is important. It prevents the shell from using fancy control characters that the printer can’t render, like the ANSI colouring codes. 2>&1 redirects both the stdout and stderr of the shell into Typist 3. If I was feeling brave I could learn how to use ed and do some proper line oriented file editing!
This was inspired by a blog post from Drew DeVault back in 2019. I’ve been meaning to do this for 6 years!
While most CLI programs don’t need to, any app can change these terminal settings, the same way
sttydoes. Interactive TUIs, such asnano, will need to change these settings. Line buffering doesn’t make sense for a text editor! ↩︎See here for a handy reference on the rest of the control codes. ↩︎
Even though I’ve regularly been using the Linux command line for some ten years, I still have to look
2>&1up every time. ↩︎
Page last updated by f7432c6 - 2025-10-19:
chore: remove extra space
Comments:
Send me a comment by emailing comments@george.honeywood.org.uk, with the subject line "typewriter-five-ways".